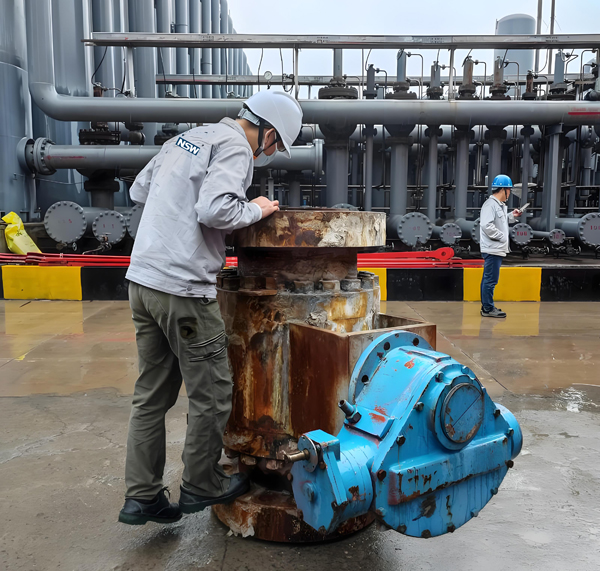
Ball valves are essential components in a variety of pipelines and industrial systems, providing reliable shutoff. However, like any mechanical device, they can develop leaks over time. A common problem is valve stem leakage, which can cause serious problems if not addressed promptly. In this article, we’ll explore how to stop leaks in control valves and risers, and provide a comprehensive guide to fixing ball valve leaks.
Understanding Valve Stem Leaks
Stem leakage is when fluid escapes from the area where the stem leaves the valve body. This can occur due to wear, improper installation, or damage to valve components. The valve stem is critical to controlling the flow of fluid, and any leakage can lead to inefficiencies, increased operating costs, and potential safety hazards.

Common causes of valve stem leakage
1. Packing Wear: The packing material around the valve stem can wear over time, causing leakage. This is usually the most common cause of valve stem leakage.
2. Corrosion: Corrosion can weaken valve components, including the stem and packing, causing leakage.
3. Improper Installation: If the valve is not installed correctly, it may not seal properly, resulting in leaks.
4. Temperature and pressure changes: Fluctuations in temperature and pressure can cause valve components to expand and contract, which may lead to leaks.
How to Stop Control Valve and Riser Leaks
Control valves and risers are critical in managing the flow of fluids in a variety of systems. If you discover a leak in these areas, it is important to address it quickly to prevent further damage. Here are steps to stop leaks in control valves and risers:
Step 1: Identify the source of the leak
Before attempting any repairs, it is critical to determine the source of the leak. Inspect the valve body, stem, and connections for signs of leakage. Dry the area with a cloth and observe where the liquid reappears.
Step 2: Shut down the system
To safely fix the leak, shut down the system and release the pressure in the line. This will prevent any accidents during the repair process.
Step 3: Tighten the connections
Sometimes, simply tightening a connection can stop a leak. Use the appropriate tools to tighten any loose bolts or fittings. Be careful not to overtighten, as this may cause further damage.
Step 4: Replace worn packing
If the leak is coming from the valve stem, you may need to replace the packing. Here’s how:
1. DISASSEMBLE THE VALVE: Remove the valve from the pipe and disassemble in accordance with the manufacturer’s instructions.
2. Remove Old Packing: Carefully remove the old packing material from around the valve stem.
3. Install New Packing: Cut the new packing to the appropriate length and wrap it around the valve stem. Make sure it fits snugly, but not too tight.
4. Reassemble the valve: Reassemble the valve, making sure all parts are properly aligned.
Step 5: Test for leaks
Once the valve has been reassembled, reinstall it into the pipe and turn the system back on. Monitor the area for signs of leaks. If the leak persists, further investigation may be necessary.
How to fix a ball valve leak
The steps involved in fixing a ball valve leak are similar to those for resolving a stem leak. Here is a detailed guide on how to fix a ball valve leak:
Step 1: Turn off the water
Before starting any repairs, shut off the water supply to the valve. This will prevent water from flowing out while you are working.
Step 2: Check the valve
Inspect the ball valve for any obvious signs of damage or wear. Look for cracks, corrosion, or loose fittings that could cause leaks.
Step 3: Tighten the packing nut
If the leak is coming from the packing area, try tightening the packing nut. Use a wrench to turn the nut clockwise, but be careful not to overtighten or you may damage the valve.
Step 4: Replace the ball valve
If tightening the packing nut does not stop the leak, you may need to replace the ball valve entirely. Here’s how:
1. Remove the old valve: Loosen the fittings and disconnect the ball valve from the pipe.
2. Install New Valve: Place the new ball valve in place and secure with the appropriate fittings.
3. Test the new valve: Turn the water back on and check for leaks around the new valve.
In conclusion
Solving valve stem leaks and repairing ball valve leaks are essential to maintaining the efficiency and safety of your plumbing or industrial system. By understanding the common causes of leaks and following the proper steps to repair them, you can prevent further damage and ensure smooth operation. Regular maintenance and inspections can also help catch potential problems before they become serious issues, saving you time and money in the long run. If you experience persistent leaks or are unsure of the repair process, consider consulting a professional plumber or technician for assistance.
Post time: Mar-14-2025

